Learn how to build your own DIY eye tracking glasses with this comprehensive guide. Discover the materials needed, step-by-step instructions, and the potential pitfalls of creating your own eye tracking solution.
Table of Contents
Introduction
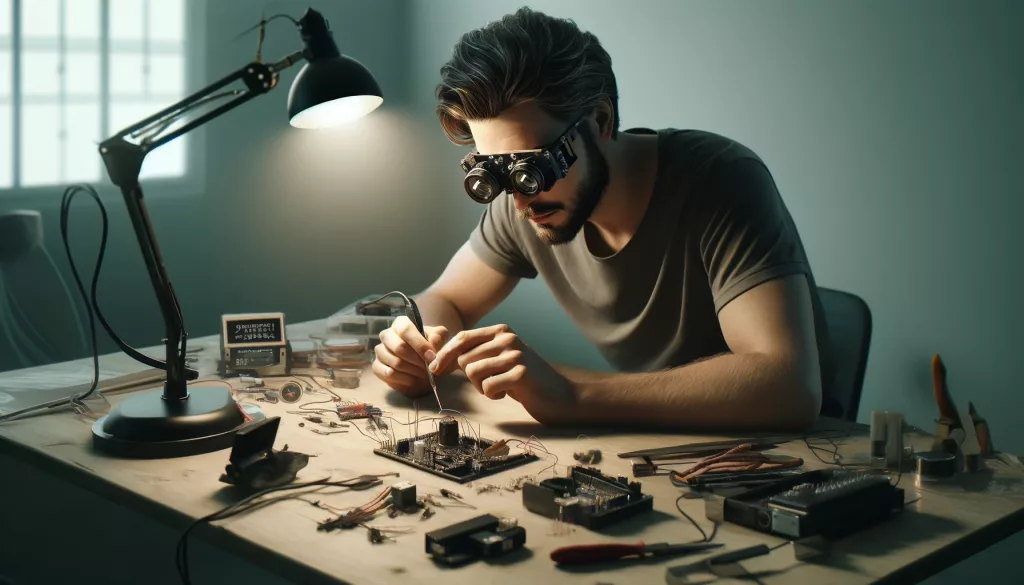
Eye tracking glasses are cool, and they are probably the biosensor hardware most readily associated with human behavior research in the eyes of the public. They perfectly span the divide between useful data collection tools and futuristic show pieces. The brutal truth however is that practical and futuristic, while cool, also equals expensive. Traditionally pricing on eye tracking glasses have been high, a truth which has probably had many scientists and researchers wondering to themselves whether it would be possible to make a pair of DIY eye tracking glasses.
Since the relative infancy of the technology, many people have tried to build their own eye tracking glasses. In fact, the internet seems to have a fair representation of people who have attempted just that, and they are not afraid of sharing their experiences such as this cool example. If you would like a visual guide or walkthrough, we’ll leave you to search for that.
Eye tracking glasses are advanced pieces of equipment, and trying to make your own pair, does take (quite) a bit of technical savvy and above-average soldering skills. So tinker at your own risk.
Building Your Own Eye Tracking Glasses: A Step-by-Step Guide
How you choose to design your glasses is completely up to you, so in this chapter we are going to do a walkthrough of a simple build example in which eye tracking glasses are made from a webcam and Infrared LEDs as the main components. This project requires semi-advanced knowledge of electronics, soldering, and programming.
Materials Needed
- A pair of glasses – your choice of fanciness level.
- 2-4 IR LEDs
- A webcam (one you can modify)
- Arduino or Raspberry Pi
- Resistors (matching the LEDs requirements)
- Breadboard and jumper wires
- Power source (battery pack or USB power supply)
- Soldering iron and solder
- Hot glue gun or epoxy
- Electrical tape or heat shrink tubing
- A computer with OpenCV installed
Step-by-Step Guide
Step 1: Modify the Webcam
- Disassemble the Webcam:
- Carefully open the webcam casing using a small screwdriver.
- Identify and locate the IR filter (usually a small piece of glass or plastic over the camera sensor).
- Remove the IR Filter:
- Gently remove the IR filter using tweezers. This modification makes the camera sensitive to IR light.
- Reassemble the webcam without the IR filter.
Step 2: Prepare the IR LEDs
- Determine LED Placement:
- Decide where to place the IR LEDs on the glasses. They should be positioned around the lenses to illuminate the eyes.
- Solder Resistors to LEDs:
- Solder the appropriate resistors to the positive leg of each IR LED.
- Attach Wires to LEDs:
- Solder wires to the LEDs (one for the positive leg and one for the negative leg). Use heat shrink tubing or electrical tape to insulate the connections.
- Mount LEDs on Glasses:
- Use a hot glue gun or epoxy to securely attach the LEDs to the glasses frame. Ensure they are evenly spaced around the lenses and directed towards the eyes.
Step 3: Assemble the Circuit
- Connect LEDs to Power Source:
- Connect the positive wires of the LEDs to the positive rail of the breadboard.
- Connect the negative wires of the LEDs to the ground rail of the breadboard.
- Connect Power Supply:
- Connect the Arduino or Raspberry Pi to the breadboard. Power the breadboard using the Arduino’s 5V and GND pins, or use a battery pack if preferred.
- Connect the Webcam:
- Position the modified webcam on the bridge of the glasses or mount it in a way that it captures the eyes. Secure it with hot glue or epoxy if necessary.
- Connect the webcam to your computer via USB.
Step 4: Set Up Software (example)
- Install OpenCV:
- Install OpenCV on your computer. This library will help you process the video feed from the webcam and track the eyes.
- You can install OpenCV using pip: pip install opencv-python
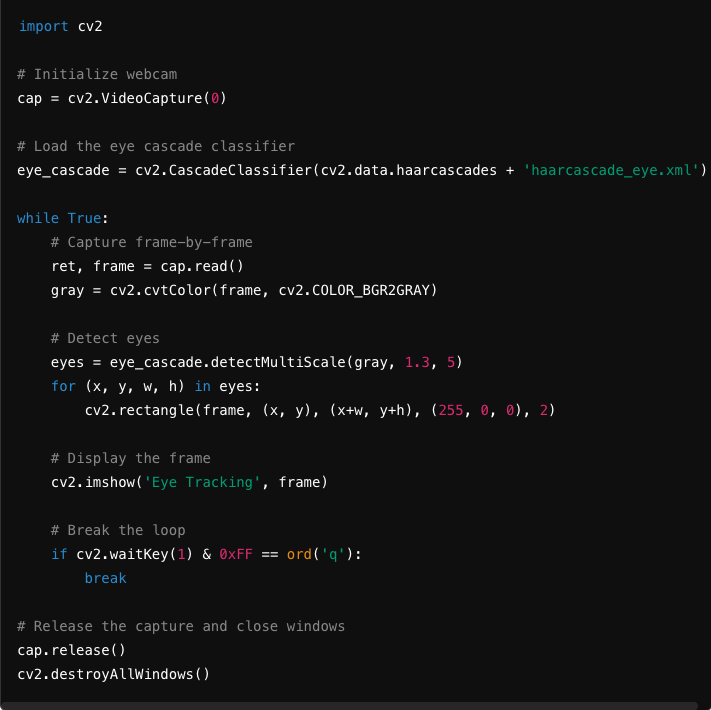
- Write the Eye Tracking Code:
- Create a Python script to capture the video feed from the webcam and detect the eyes. Below is a basic example:
Step 5: Calibration and Testing
- Calibrate the System:
- Calibration involves mapping the eye position to screen coordinates. You can use simple methods like looking at known points on the screen and recording the corresponding eye positions.
- Test the System:
- Test the eye tracking glasses by running the Python script and ensuring that the eyes are correctly detected. Make adjustments to the LED positioning or camera angle if necessary.
There you have it – a basic, and informative only, DIY eye tracking glasses walkthrough. While it may not match the precision of commercial and research grade systems, building your own eye tracking glasses can be an informative and rewarding project that gives a good insight into how eye tracking technology works.
Eye tracking glasses price vs effort
As loath as we are to have to do this, here comes the annoying but very sensible bit. While building your own eye tracking glasses can be an exciting and enjoyable educational project, offering a hands-on understanding of the technology involved, your new creation will invariably come up short against research grade eye tracking glasses.
If you are looking to conduct academic research then the verdict is clear; the effort of making your own eye tracking glasses is not worth the cost-cutting exercise. The following chapter will explain why.
The Pitfalls of DIY Eye Tracking Glasses for Scientific Research
When it comes to scientific research, the precision and reliability required will exceed what DIY solutions can provide. This chapter explores the reasons why constructing your own eye tracking glasses might not be suitable for scientific purposes, highlighting the potential pitfalls and limitations that could compromise the integrity of your research.
- Lack of Precision and Accuracy
- Commercial eye trackers are highly precise and undergo rigorous testing. DIY eye tracking glasses often lack this precision due to suboptimal components and homemade calibration methods, leading to unreliable data.
- Calibration Challenges
- Professional systems use advanced algorithms for accurate calibration. DIY systems use simpler methods that fail to account for head movements and individual differences, resulting in systematic errors.
- Limited Data Quality and Resolution
- Commercial trackers capture high-resolution data at high frame rates, essential for analyzing subtle eye movements. DIY setups with consumer-grade cameras lack this quality, losing critical information.
- Reliability and Consistency Issues
- Commercial systems ensure stable performance over long periods. DIY glasses often face inconsistent performance due to hardware limitations and environmental factors, introducing data variability.
- Lack of Validation and Standardization
- Professional eye trackers meet industry standards through extensive validation. DIY systems lack rigorous testing, making their data unreliable for scientific research.
- Technical Expertise and Time Investment
- DIY systems require significant expertise in electronics and programming. Building and troubleshooting these systems can divert time from primary research activities and result in compromised data quality.
Why you should invest in research grade eye tracking glasses
Research-grade eye tracking glasses are essential for high-quality, reliable scientific research. They offer unparalleled precision, accuracy, and consistency, supported by advanced calibration techniques and high-resolution data capture. Comprehensive software support, ethical design, and time efficiency enhance their suitability for rigorous studies. DIY solutions, while cost-effective for educational purposes, do not meet the demanding requirements of scientific research. Investing in research-grade glasses is a worthwhile choice for obtaining trustworthy data.
While this might be a blow to the aspiring behavioral researcher turned electrical engineer, there is good news for the cost-aware. With the increasing popularity of eye tracking glasses in a myriad of academic and commercial fields, cost effective versions are on the market. Below we highlight three sets of glasses that natively integrate with iMotions.
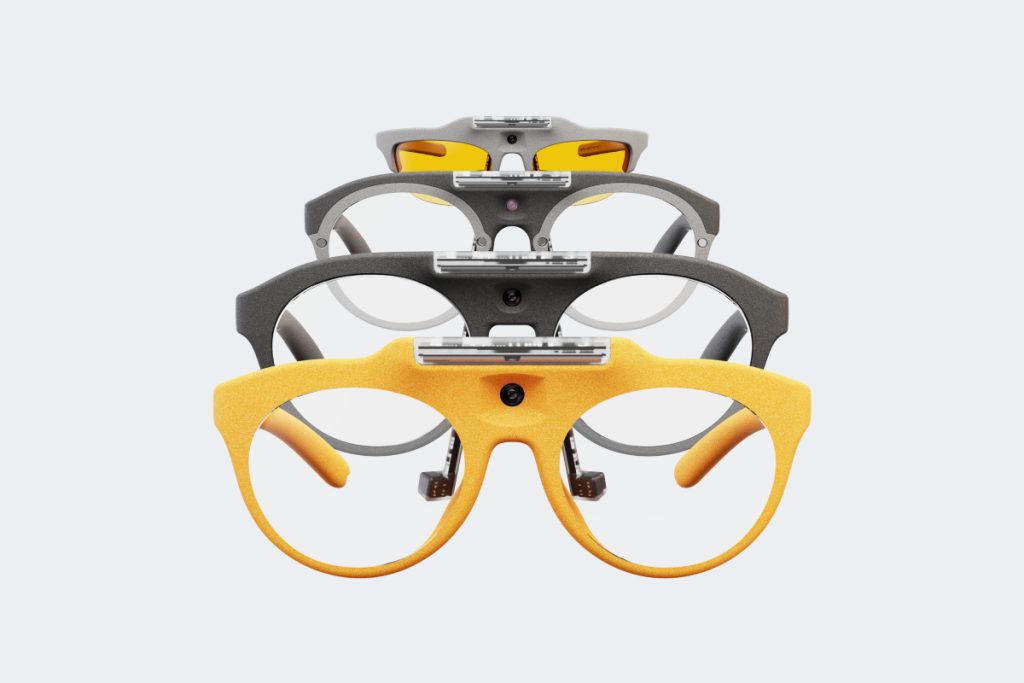
Neon by Pupil Labs
Neon by Pupil Labs offers exceptional eye-tracking precision with advanced algorithms and high-resolution cameras, ensuring real-time accuracy. Its robust software integrates seamlessly with diverse research tools, facilitating comprehensive data analysis. Neon stands out for its user-friendly interface and versatility, making it suitable for a wide range of applications, from academic research to commercial use. The system’s reliability and ease of use make it a valuable tool for professionals seeking high-quality eye-tracking solutions. Some of the main features of the Neon glasses include, shock compensation, intuitive setup and a range of different frames for a long range of different use cases.
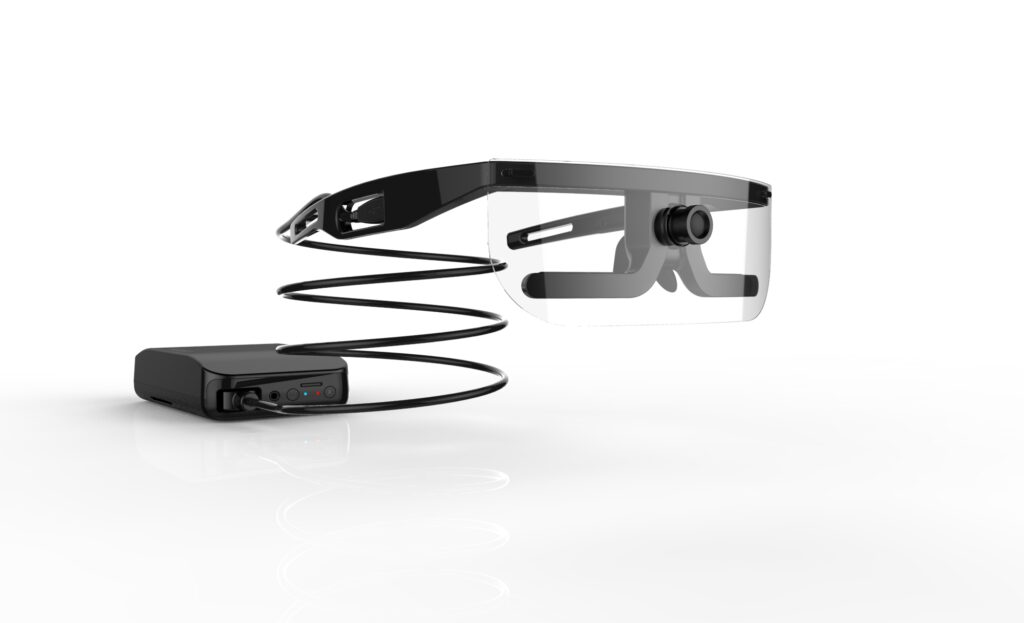
ETVision by Argus Science
The ETVision glasses boasts some of the highest update rates (180Hz) and binocular measurement with exceptional ease of use and mobility. Building on lightweight, unobtrusive eye trackers, ETVision captures data over extended periods, even with prescription glasses or contacts. Ideal for diverse applications, it integrates with position tracking systems and includes Argus Science’s ET3Space, StimTrac, and ETAnalysis software.
VPS19 by Viewpointsystem
VPS19 by Viewpointsystem excels with its advanced eye-tracking technology, delivering precise gaze data and real-time analytics. Its robust calibration ensures high accuracy, accommodating various environmental conditions, due to its high-durability construction, and individual physiological differences. Ideal for professional applications, VPS19 supports detailed behavioral insights, enhancing research, training, and operational efficiency across industries.
You can also check out how to choose the best eye tracking glasses for your research. If you are interested to browse our entire catalogue of eye trackers, which also features screen-based and VR eye trackers, you can do so here:
Eye Tracking Glasses
Compare the best in market
- Compare the specifications of each hardware
- Learn more about eye-tracking metrics
- Finding the right equipment for
your research
Eye Tracking Glasses
The Complete Pocket Guide
- 35 pages of comprehensive eye tracking material
- Technical overview of hardware
- Learn how to take your research to the next level